
游戏说明
成天在家里无所事事的悠斗是个电脑天才与偶像宅。
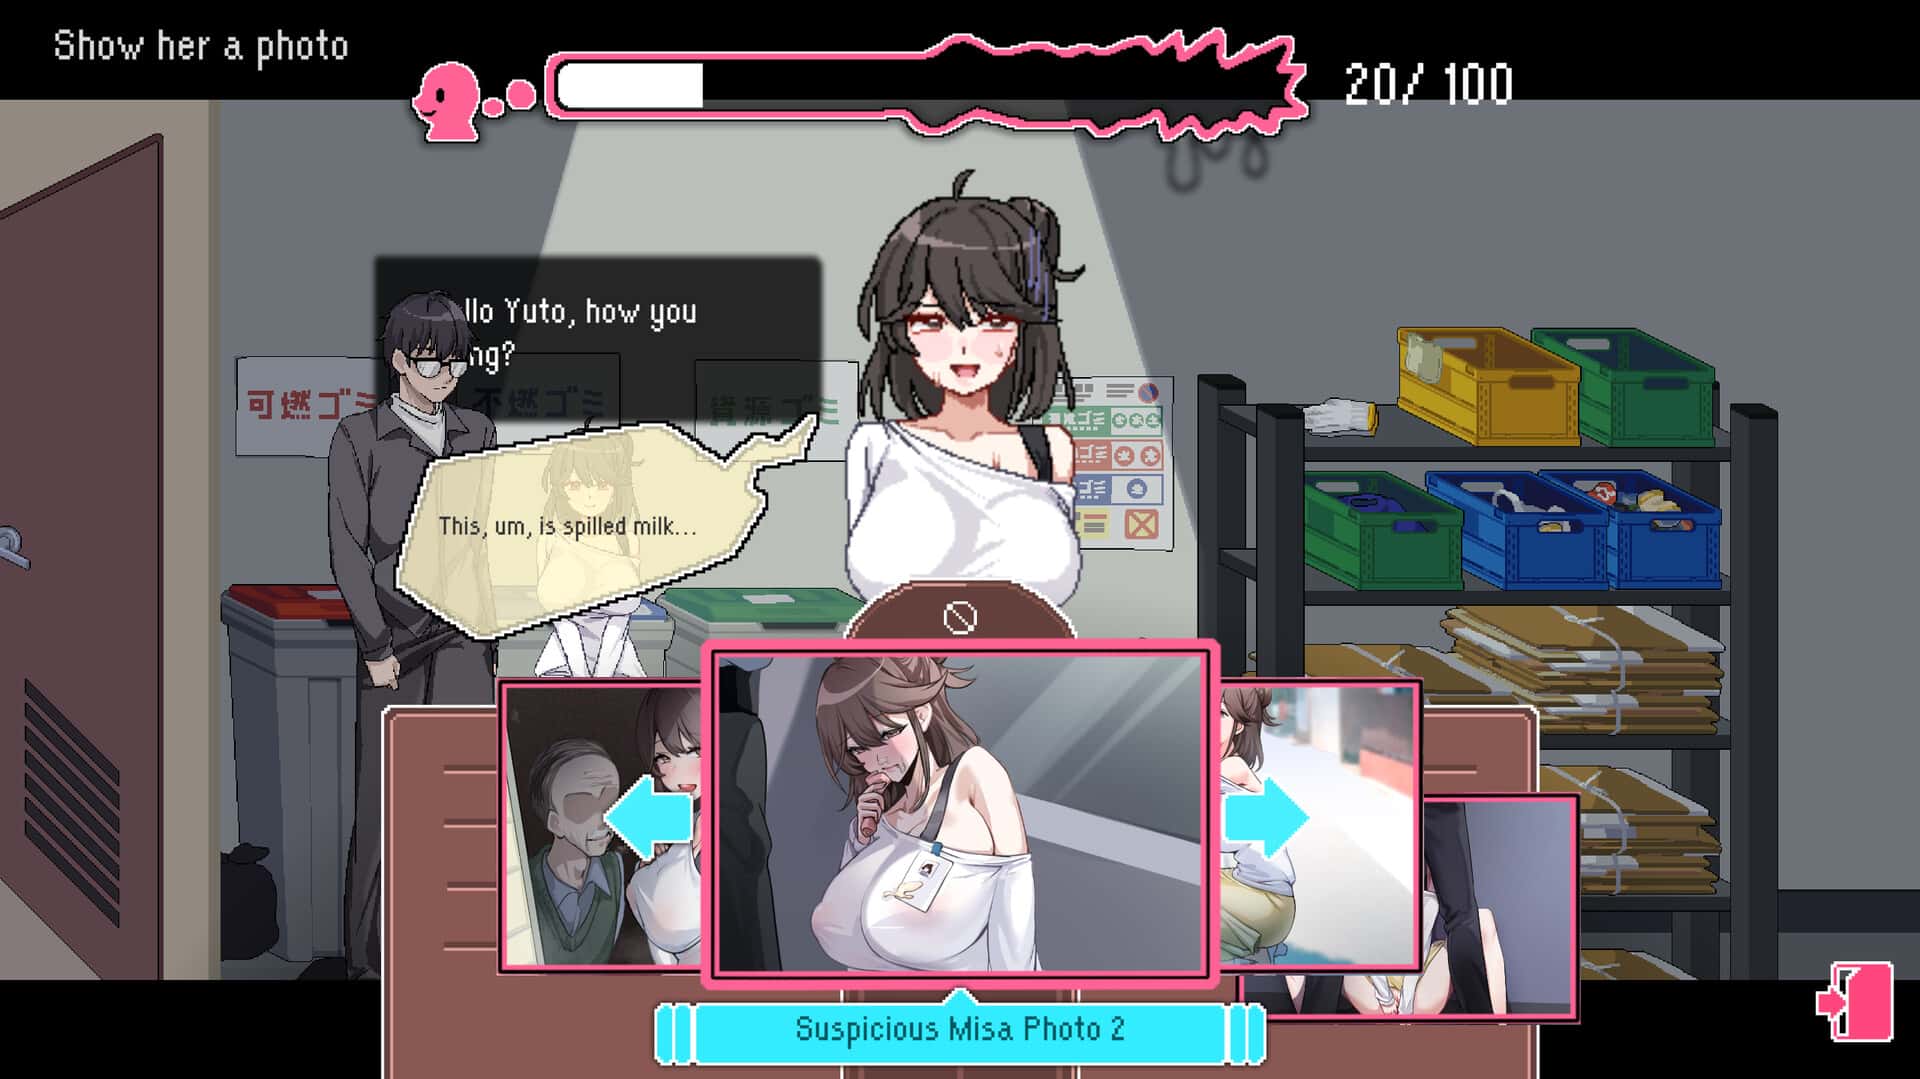
尽管有些不甘愿,但为了生计,还是在接到社群平台Facibook的邀请后,成为了审查信息的社群审查员,负责将违反社群规范的图片Ban掉。
没想到乏味无聊的审查工作,竟然让他洞察了公寓管理员人妻美沙、独5无二爱的偶像优衣、还有教会的修女梨花她们不为人知的秘密。
同5时间,悠斗也洞察当他在工作上犯错,将情色信息不小心流出,
公寓周遭的人们以及电视上播报的新闻信息似乎渐渐发起有5些不对劲。
好像整个社会的道德界线变得混乱,大家越来越性开放…
产品信息
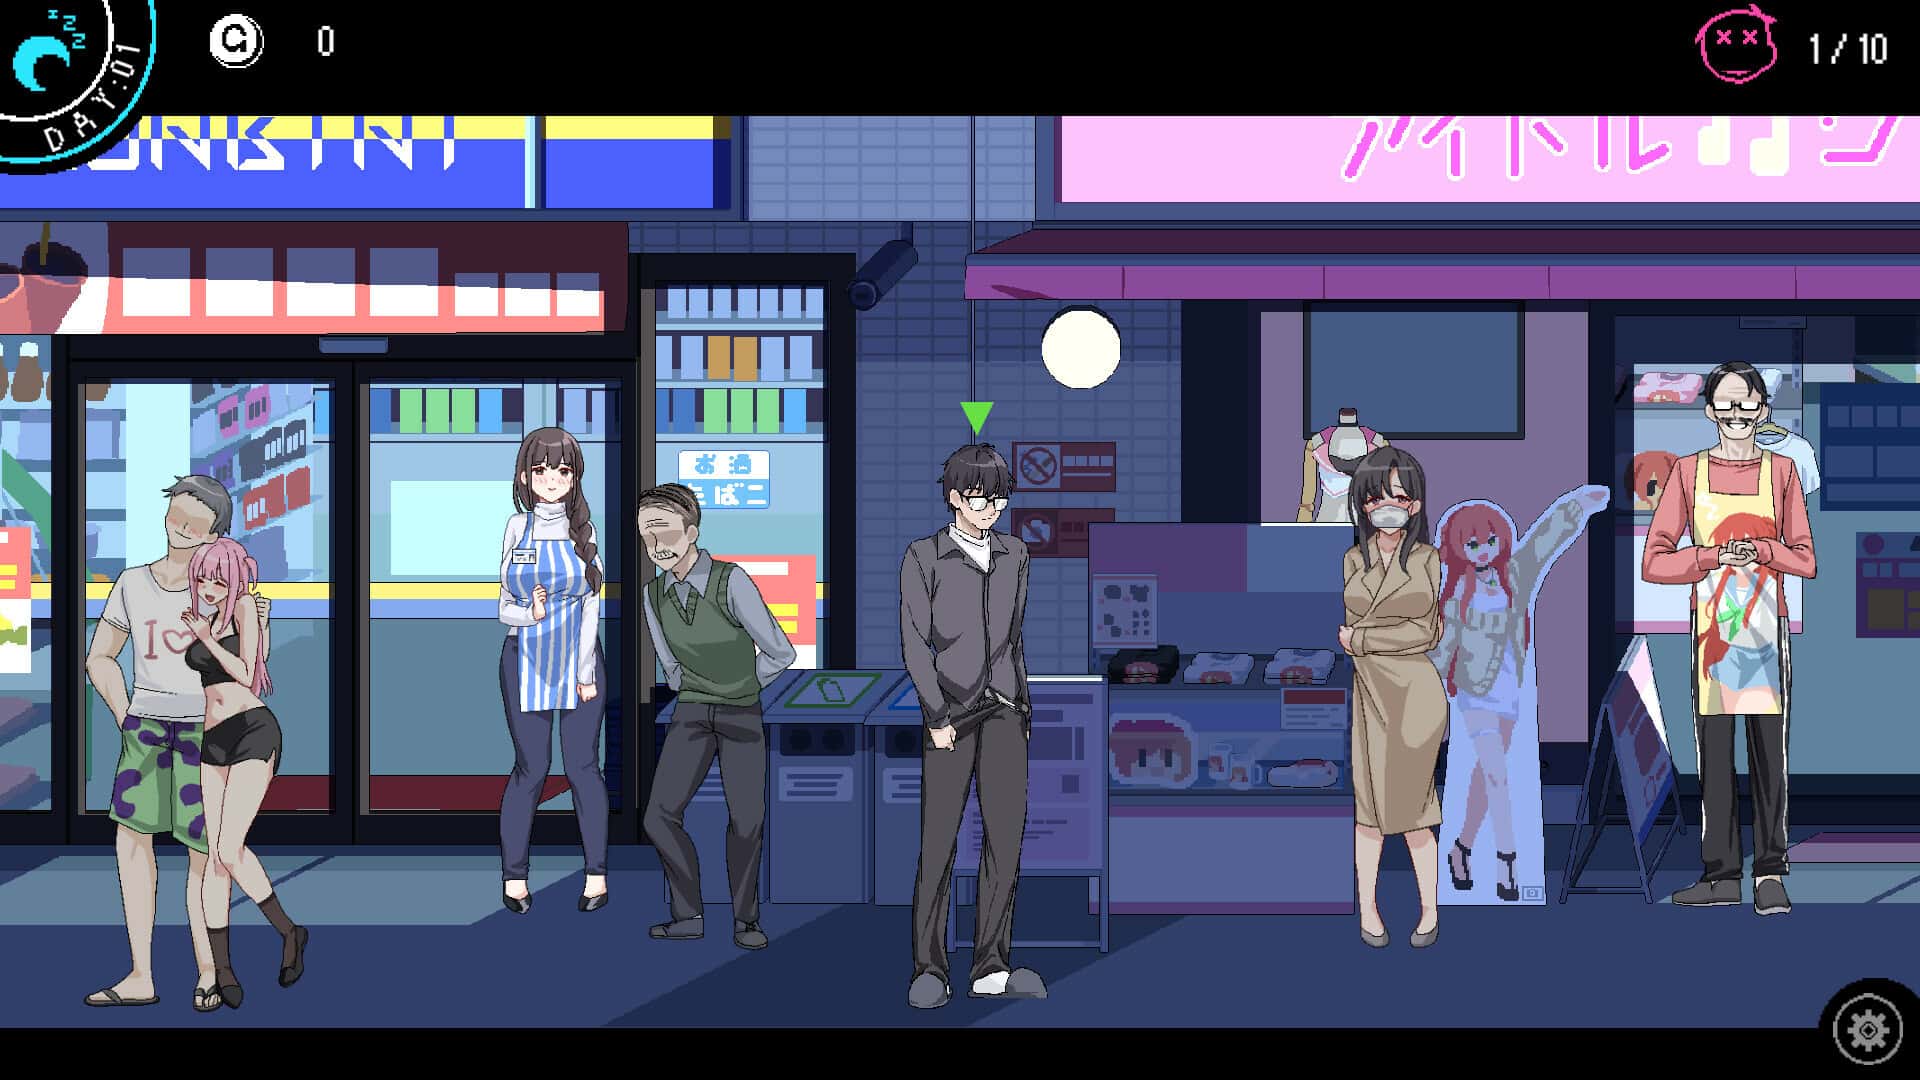
在各个天的数个个时段5边工作赚钱提升职等,5边探索城市与NPC对话。
社群审查员总共有5个职等,从实习生、初级雇员、中级雇员、高级雇员、管理员。
当工作表现优异,收获足够的经验值,就可以升等收获更高的薪水,与更高的自由度。
这代表你发起可以在工作上「不小心」犯错,流出5些情色信息来提升社会的「混乱度」,而不会立刻被开除。
随着混沌值的上升,NPC将发起展现更丰富异常行为,可以解锁新的事件,台词与服装也可能产生改变。
成功方法管理员美沙后,便利商店购买「公车卡」,可
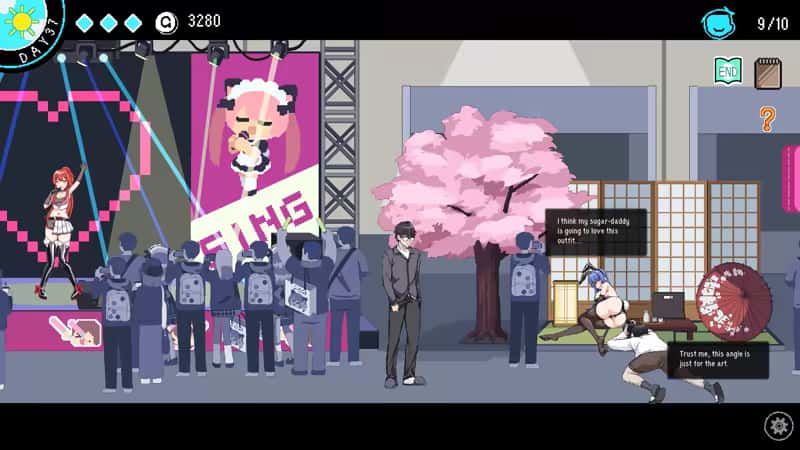
以开启教堂、漫展、警局等新地图和丰富的小产品供探索,以及偶像美沙、修女梨花俩个可供略成员。
独5无二近版版也包含DLC信息,新增新的方法对象「女主播」。
产品玩法
各个天分为早上、下午、晚上、午夜数个个时段,各个个时段可选择不同行动,如工作赚钱、探索地图与NPC对话等,自由度相当高。
随着产品的进行,可以探索的地区和可以互动的成员会越来越丰富。各个个时段会出现的NPC和可以玩的小产品也会有变化,增加探索的乐趣。
透过社群审查的工作,与女主角们互动。同时5边提升职等,5边提高范围的混乱度。
並透过5连串的小产品,尝试不同的体位和场景,增加和女主角的亲密度。
教堂和漫展也有各自的任务和极其丰富的小产品。在教堂里不断和不同NPC对话,参与忏悔
和唱诗和修女拉近关系,洞察教堂隐藏的淫乱。
技巧指南
社群审查v4.0.13更新
(1)重要更新!产品追加全部程单手鼠标操控功能。
人物移动:鼠标右键点击

选单/进出:鼠标左键点击
按钮互动:鼠标左键点击
(2)调整绝大部分小产品的「跳过Skip」按钮,于产品动手前即可点击跳过。
(3)修復开启背包有时会导致白屏的Bug。
(4)修復鼠标操控人物移动部分设备会出现人物闪烁的Bug。
(5)优化UI,点击商店视窗外部即可退出商店。
(6)修復部分漫展混乱度事件提早触发的Bug。
(7)修復偶像优衣唱歌小产品音量无法控制的Bug。

(8)修復俄文版文字跑版问题。
产品特征

●12种以上数个样丰富的小产品与委托。
●超过60枚点阵图动画,与200个以上的差分。
●共有仨个主要场景,超过30个NPC。绝大部分的女性NPC均可经验。
●《NTR狂热》中的千穗与莉莉丝,以及许数个由芒果派对发行的人气产品中的主角都会以彩蛋的形式登场。